[QUOTE=Todd Rose]
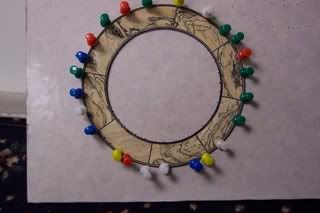
From the underside of the soundboard, drill small holes every 3/4" or so all the way around the channel, centered in the width of the channel.
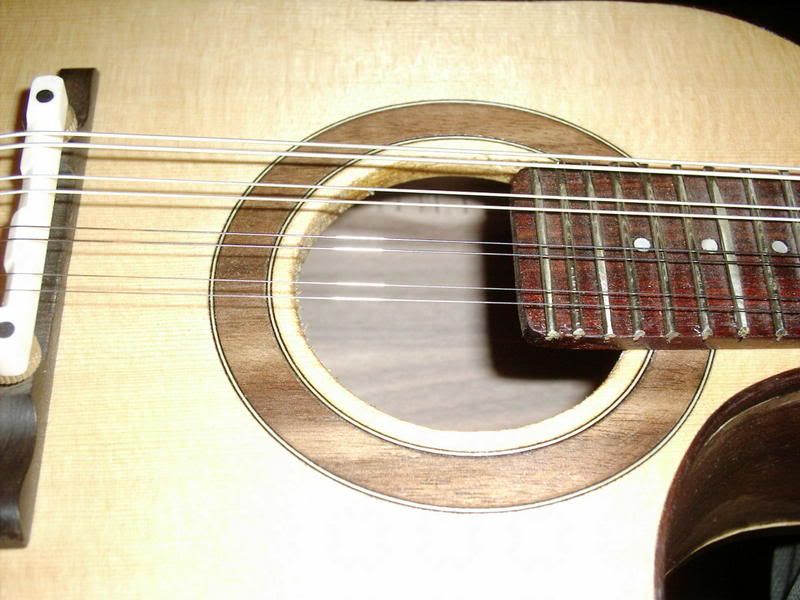
I laminate a second piece of spruce in the area of the soundhole before cutting the soundhole, so the little glue-wicking holes will be hidden. (Hiding the holes is not the reason I laminate this area, but it's an added benefit.)
[/QUOTE]
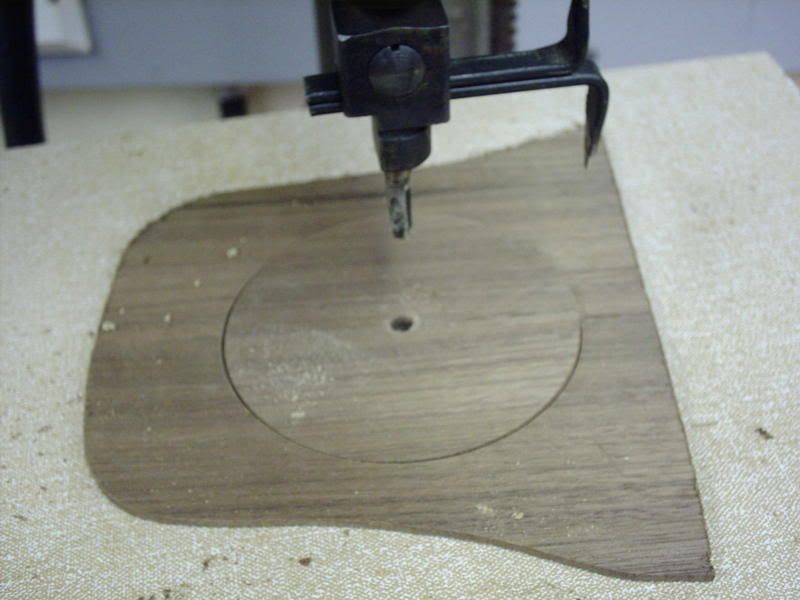
I just want to clarify that when I said "From the underside of the soundboard" I just meant that the holes go right through the soundboard, not that I actually drill in that direction. Drill from the the top side, in the channel, with a backer board beneath, so you won't have tear-out.
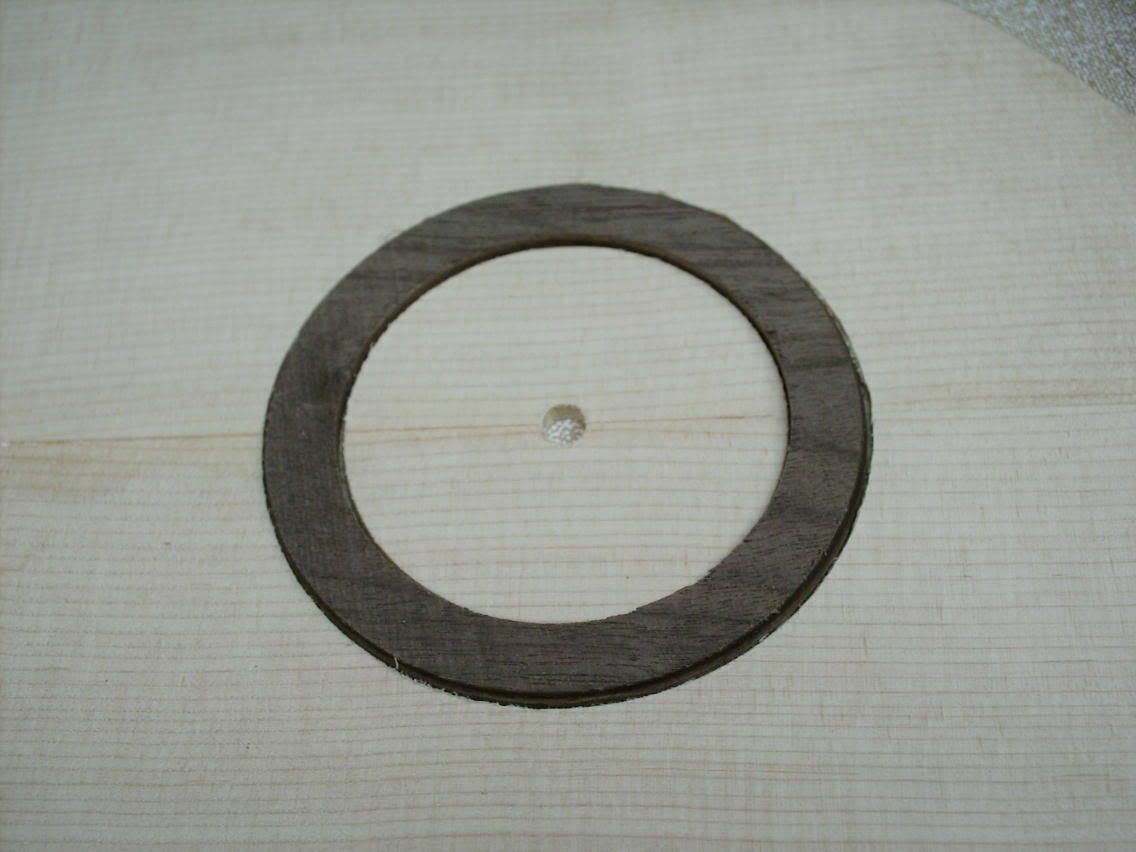
Secondly, I'm not sure if my explanation of the lamination in the area of the soundboard was clear. What I'm doing, which many builders do, is stiffening the perimeter of the soundhole by making the soundboard double-thick in this area. The extra layer of spruce is laminated on the underside of the soundboard (obviously), after doing the rosette and before the soundhole is cut, and it extends out to the upper arms of the X braces and down to the intersection of the X (it is glued on before any of the braces). How far up and out into the upper bout area this lamination extends depends on the design of a given guitar's bracing.
|